Your OBD system has power, but no communication. That phrase alone can cause stress for technicians and vehicle owners alike. Whether you’re a seasoned automotive pro or a shop owner trying to diagnose a customer complaint, the issue of OBD has power but no communication usually signals a deeper problem in your diagnostic link or vehicle’s electronic control modules. It can bring repairs to a standstill, delay service timelines, and confuse even experienced mechanics. This guide breaks down what this issue really means, why it happens, and how to quickly get your diagnostic flow back online.
Need expert help? Contact us today for advanced auto computer repair and reliable diagnostic support.
Table of Contents
- Understanding the “OBD Has Power But No Communication” Problem
- First Things First: Verify OBD Power and Grounds
- The Most Common Causes of Communication Failure
- How to Troubleshoot OBD Communication Issues (Step-by-Step)
- When It’s Not the Tool: Vehicle-Side Failures to Consider
- Still No Communication? Let SOLO Handle It
Understanding the “OBD Has Power But No Communication” Problem
If your scan tool powers on but fails to connect, you’re likely dealing with an issue more complex than just a bad tool. When the code reader lights up, shows voltage, and returns nothing—no DTCs, no communication—you’re likely facing a communication breakdown between the vehicle’s control modules and your diagnostic device.
Here’s what’s really happening:
- Power supply is present: The OBD-II port’s pin 16 is delivering 12V, confirming the system has power.
- No data exchange: The diagnostic tool can’t establish a link to read fault codes or live data.
- Possible connector issues: A loose, corroded, or damaged connector—especially a bent WH wire (white wire, often CAN Hi)—can disrupt signal flow.
- Communication wires may be compromised: Look for damaged or shorted CAN or K-line circuits responsible for transmitting data.
- Jumper wires or splices used for past repairs or add-ons can also interfere if poorly done or corroded.
Many techs assume the problem lies with the code reader itself, but if power is confirmed, that’s rarely the issue.
Common Signals That Point to a Communication Issue:
- Scan tool powers on but displays “Link Error” or “No Communication.”
- The check engine light is on, but no codes are retrieved.
- Aftermarket installs (like GPS or alarms) suddenly precede communication failure.
This isn’t just frustrating—it blocks your ability to diagnose, costing time and possibly leading to wrong part swaps. That’s why it’s critical to start with the basics: power, grounds, and connector integrity.
Pro Tip: Always inspect OBD wiring behind the port; the WH and ground wires are common failure points, especially after prior electrical work.
First Things First: Verify OBD Power and Grounds
Before jumping to conclusions about faulty modules or wiring harnesses, the first step is always to verify the OBD-II connector’s power and ground. Many cases of “OBD has power but no communication” stem from overlooked basics—a weak chassis ground, a loose Pin Connector, or a compromised wire inside the vehicle’s harness.
Start by testing pin 16 on the OBD-II connector for constant 12V battery power. This pin supplies power to the Scan Tool, and without it, diagnostics stop immediately. Equally important are pins 4 and 5, which serve as the system’s ground. If the vehicle’s chassis ground is corroded or broken, your scan tool may power up but still fail to communicate with any electronic modules.In some vehicles, especially late-model systems, power to the diagnostic port is routed through the PCM connector and associated fuses. A blown fuse—often labeled ECU, TCM, or DATA LINK—can prevent communication without affecting other functions of the vehicle. Even if your scan tool lights up, an open circuit in the communication line can lead to complete OBD failure.
The Most Common Causes of Communication Failure
When an OBD system has power but fails to communicate, there’s usually a disruption between the scan tool and the vehicle’s communication link. This could be as simple as a blown fuse or as complex as a shorted CAN bus within a dense bundle of wires inside the dash or engine compartment.
Often, the culprit lies in a part of the system that doesn’t appear related at first glance. For example, a blown fuse in the cigar lighter circuit—used in some vehicles to supply power to the OBD port—can shut down diagnostics completely. Poor splices, damaged shielding, or shorted connections buried in harnesses can break communication without triggering any warning lights.
Below is a quick reference to common causes and what to check:
| Issue | What to Look For |
| Blown Fuse | Inspect fuses for ECU, TCM, data link, and cigar lighter circuits |
| Bad Ground or Power | Confirm voltage at pin 16 and continuity at pins 4 & 5 of the OBD-II port |
| Damaged Communication Link | Trace wires using a wiring diagram and look for broken, pinched, or corroded lines |
| ECU or ECM Failure | If all wiring checks out, suspect the ECU ; may require professional ECM repair |
| Module Pulling Down Bus | Disconnect suspect modules one at a time to isolate a faulted control unit |
| Engine Compartment Water Intrusion | Check for corrosion in connectors, especially near the firewall and fuse box |
| Improper Aftermarket Installs | Look for tapped wires, alarm/GPS installs disrupting the OBD’s bundle of wires |
Even skilled techs overlook these problem points when under pressure. Using the right wiring diagram and a step-by-step process ensures you won’t miss a hidden short or bad ground that can stop communication cold.
How to Troubleshoot OBD Communication Issues
When your scan tool powers on but won’t connect, it’s time for a structured approach. A communication failure can result from a broken wire, a popped lighter fuse, or a faulty PCM connector, and skipping diagnostic steps could cost hours.
Follow this proven process to isolate the fault and verify whether the issue lies in the wiring, the connector, or the module itself:
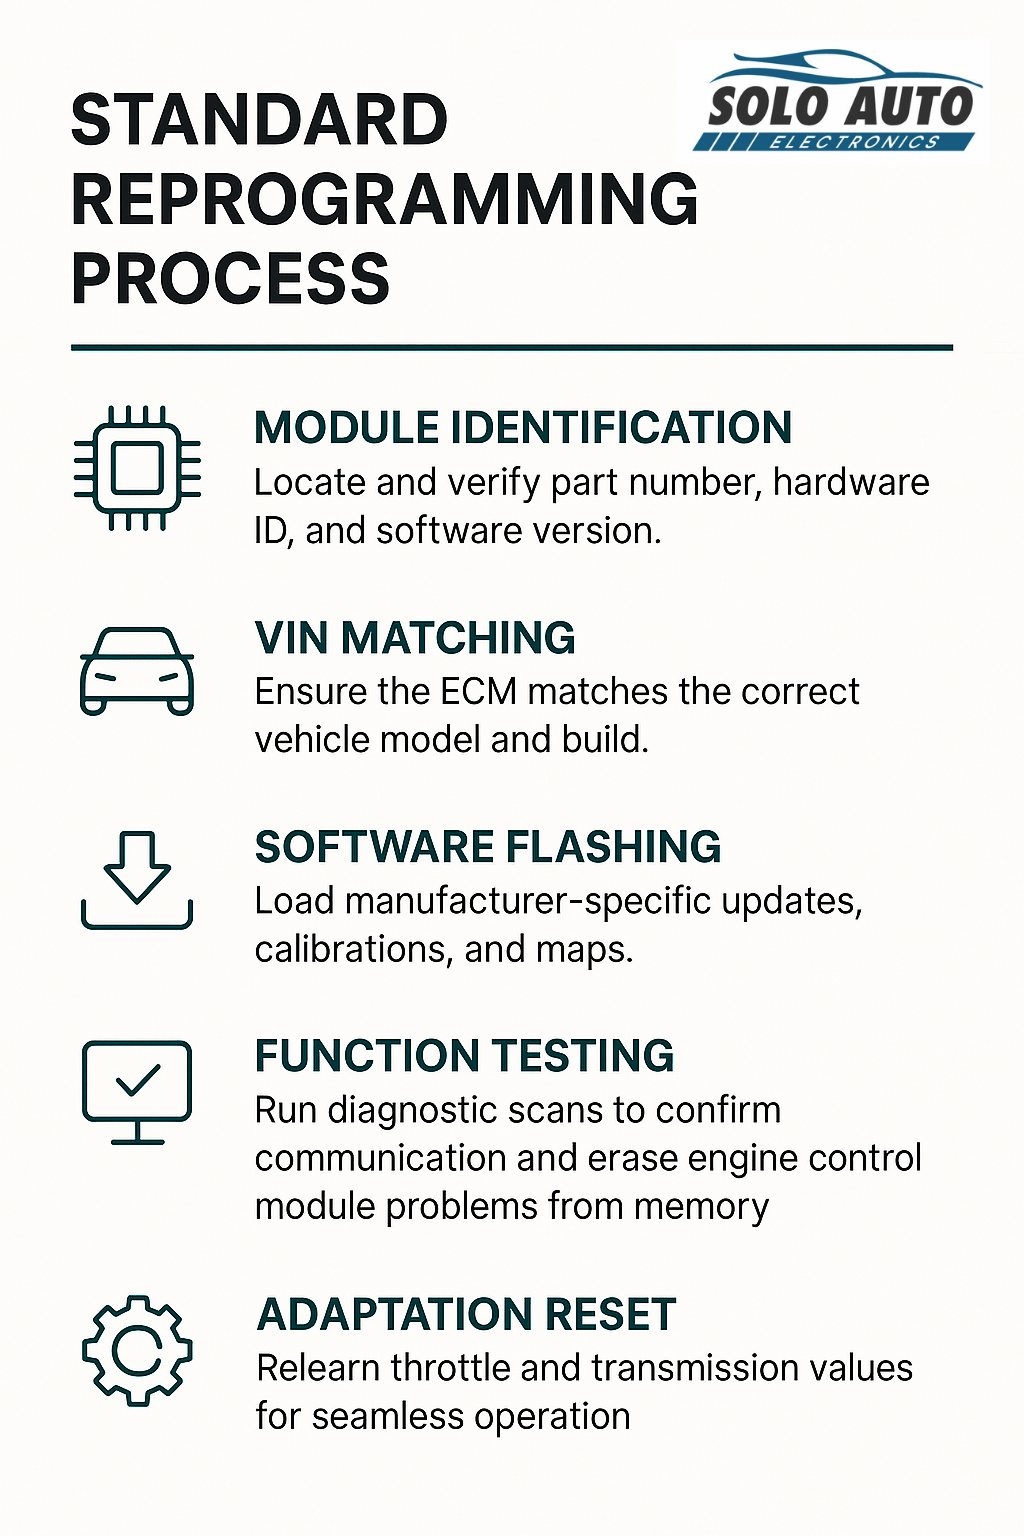
Taking these steps in order reduces guesswork, avoids unnecessary part replacement, and protects your time. Intermittent faults often stem from small issues, like a chafed yellow wire, so a methodical inspection is always worth the effort.
When It’s Not the Tool: Vehicle-Side Failures to Consider
If your scan tool powers up, the PCM connector has voltage, and fuses are intact—but you still can’t communicate—then it’s time to consider vehicle-side failures. These problems often lie deeper in the network and may involve critical components like the Control Module, wiring infrastructure, or signal transceivers.
At this stage, you may be dealing with:
- A faulty ECU or TCM
- Corrupted firmware in a Control Module
- Low or unstable PCM Power
- A shorted bundle of wires
- Or an internally broken wire that’s difficult to detect
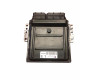
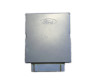
If your TCM or ECU is physically damaged or cannot be reprogrammed, communication cannot be restored without repair or replacement. When internal failure is confirmed, buying a new or refurbished ECU may be necessary. Always match the replacement to the vehicle’s make, model, and VIN to ensure compatibility and communication recovery.
Damaged CAN Transceivers
CAN transceivers handle high- and low-speed communication between modules. When these fail:
- The vehicle may show no communication with multiple modules, not just one.
- You’ll often find one module disrupting the entire CAN network.
- Testing at the PCM connector may reveal irregular voltage (not the expected 2.5V average on CAN lines).
A failed CAN transceiver inside the ECU or TCM can completely block communication. These failures typically require bench testing or signal analysis to confirm.
Wiring Chafes Behind Kick Panels or Under the Hood
| Location | What to Check For | Why It Matters |
| Kick Panels (Driver/Passenger) | Look for chafed insulation where feet or trim panels rub against the harness over time | Wear in these areas can expose wires and cause intermittent communication faults |
| Engine Bay / Fuse Box Area | Inspect for a broken wire or cracked insulation near tight bends, sharp corners, or brackets | These points often flex and stress the harness, leading to signal loss or grounding problems |
| Near Negative Terminal / Grounds | Test for high resistance or loose contact at grounding points and battery negative terminal | Unstable grounds affect voltage reference and can interrupt signals to the PCM connector and modules |

Still No Communication? Let SOLO Handle It
You’ve verified power, tested grounds, checked every fuse, and traced each signal path—but your scan tool still won’t connect. At this point, you’re likely facing a failure deep within the vehicle’s network: a faulty Control Module, a degraded communication link, or an issue with the PCM connector that only advanced diagnostic equipment can isolate.
That’s where SOLO steps in.
Our expert technicians specialize in auto computer diagnostics and module-level repairs, including ECU, TCM, and PCM testing, rewiring, and reprogramming. If there’s a broken wire, corrupted signal, or failing component inside your vehicle’s brain, we find it, fix it, and get you back online with precision.
Don’t replace parts blindly. Let SOLO’s repair center handle the job firsthand.